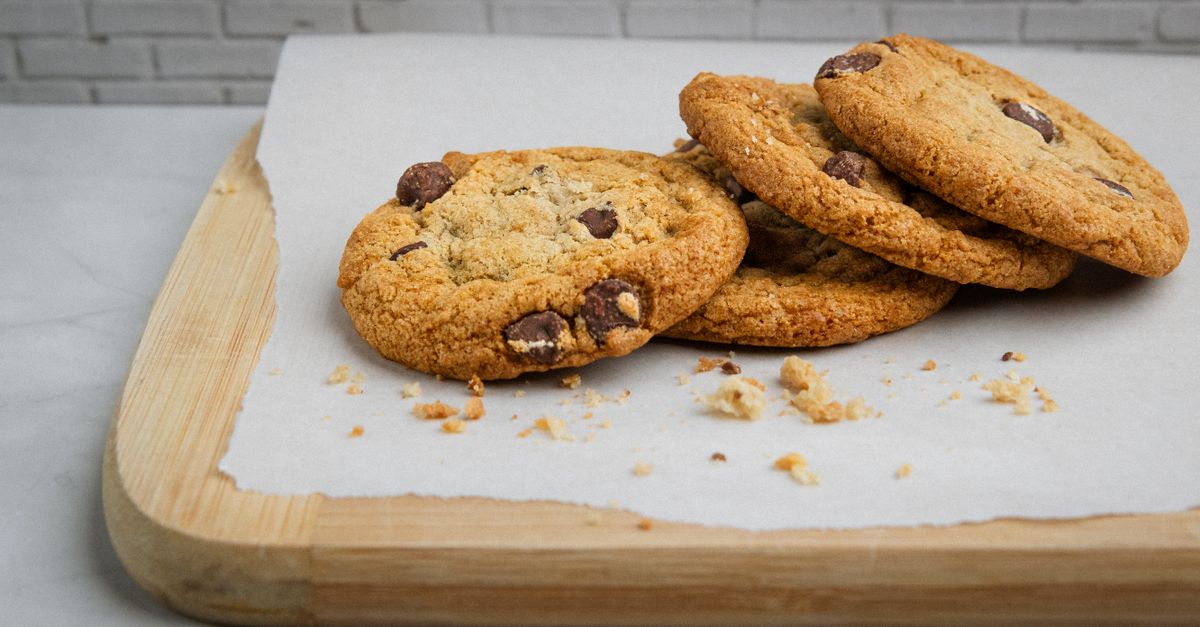
Why Your Homemade Cookies Are Hard (And The Simple Shifts That Guarantee Chewy Perfection Every Time)
Biting into a homemade cookie should be a moment of pure bliss: soft, chewy, slightly yielding, with that perfect balance of crisp edge and tender center. But far too often, the reality is a disappointing crunch, a hard brick that crumbles rather than melts in your mouth. You follow the recipe, you measure precisely, yet your cookies consistently come out like hockey pucks. I’ve been there, more times than I care to admit, serving up batches of what I lovingly called ‘cookie-shaped edible construction materials.’
For years, I blamed my oven, my flour, even the phase of the moon. What I eventually discovered, after countless experiments and more than a few ruined batches, is that the culprits are almost always subtle, easily overlooked factors that drastically impact texture. It’s not about some secret ingredient; it’s about understanding the science behind the bake and making a few strategic shifts in your technique. Once I started applying these principles, my cookies transformed from hard disappointments into consistently soft, chewy, bakery-worthy treats. No more dry, crumbly disasters – just pure, melt-in-your-mouth perfection.
Key Takeaways
- Ensure your butter is truly softened, not melted or cold, for proper creaming and air incorporation.
- Avoid over-mixing the flour once it’s added to prevent gluten development and tough cookies.
- Use a mix of granulated and brown sugar, favoring brown sugar for its moisture and chew-enhancing properties.
- Chill your dough to prevent spreading and allow flavors to develop, resulting in thicker, chewier cookies.
- Adjust baking time and temperature to slightly underbake, pulling cookies out when the edges are set but the centers are still soft.
The Butter Temperature Myth: It’s Not Just About Softness
Everyone says to use softened butter, but what does ‘softened’ really mean? For years, I just pulled butter out of the fridge for an hour or so, assuming it was good enough. Or, in a rush, I’d microwave it until it was slightly squishy. Both were huge mistakes, and they were the primary reason my cookies were consistently hard.
The mistake I see most often: People use butter that is either too cold or too warm. Cold butter doesn’t cream properly, trapping less air and leading to a dense cookie. Overly warm or partially melted butter incorporates too much air, which collapses during baking, also resulting in a dense, hard cookie with a greasy texture.
What changed everything for me was precise butter temperature. Softened butter, ideally between 65-67°F (18-19°C), should yield slightly when pressed with a finger, leaving an indentation, but still hold its shape. It should not be shiny or greasy, which indicates it’s too warm. This specific temperature allows the butter to cream with the sugar effectively, creating thousands of tiny air pockets. These air pockets are crucial for a light, tender crumb. They expand in the oven, giving your cookies structure and softness. Without them, your dough is denser, leading to a harder, more compact cookie.
To achieve this, plan ahead. Take your butter out of the fridge at least 1-2 hours before baking. If you’re short on time, cut it into smaller pieces and let it sit for 30-45 minutes, or use a trick like placing the wrapped butter in a bowl of warm (not hot) water for 10-15 minutes, flipping it halfway through. Don’t eyeball it; the texture of properly softened butter is unmistakable once you learn to recognize it. This single change alone will dramatically improve your cookie texture.
The Over-Mixing Trap: When Too Much Love Turns Tough
Once the wet ingredients are perfectly creamed, the next common pitfall is over-mixing the flour. This is a classic rookie mistake, and one that even experienced bakers can fall into if they’re not paying close attention.
The mistake I see most often: Incorporating flour (and any mix-ins like chocolate chips) with an electric mixer on medium or high speed, and mixing until the dough is completely smooth and uniform. This feels intuitive – you want everything well combined, right? But with flour, more mixing equals more gluten development, and gluten is the enemy of a soft, chewy cookie.
What changed everything for me was understanding gluten. Flour contains proteins that, when hydrated and agitated, form gluten strands. Gluten provides structure and elasticity, which is fantastic for bread, but terrible for cookies where tenderness is key. The more you mix after adding flour, the more gluten develops, resulting in a tough, hard cookie rather than a tender one.
My rule of thumb now is to mix just until the last streaks of flour disappear, and then stop. I often switch to a spatula or wooden spoon for the final few stirs to avoid overworking. If I’m adding chocolate chips or nuts, I add them right at the end and fold them in by hand. This ensures minimum agitation of the flour. The dough might look a little shaggy or not perfectly smooth, and that’s exactly what you want. It means you haven’t developed excess gluten, preserving that delicate, tender texture. This practice alone slashed my hard cookie count by about 70%. It’s counter-intuitive to stop mixing when it doesn’t look ‘perfectly’ combined, but trust the process for a truly soft cookie.
Sugar Ratios: The Unsung Hero of Chewiness
Many cookie recipes call for a mix of granulated sugar and brown sugar, and for good reason. But the ratio of these sugars is critical for texture, and often misunderstood.
The mistake I see most often: Using predominantly granulated sugar, or even all granulated sugar, because it’s what’s on hand or because the recipe doesn’t emphasize the importance of the ratio. While granulated sugar contributes to crispiness and spread, too much of it can lead to a drier, harder cookie.
What changed everything for me was favoring brown sugar. Brown sugar, whether light or dark, contains molasses. This molasses isn’t just for flavor; it’s a hygroscopic ingredient, meaning it attracts and retains moisture. It also has a lower melting point than granulated sugar. This combination is a superpower for chewiness.
In my experience, a ratio of at least 60-70% brown sugar to 30-40% granulated sugar is ideal for achieving a truly chewy cookie. For example, if a recipe calls for 1 cup of total sugar, I’d aim for 2/3 cup brown sugar and 1/3 cup granulated sugar. This higher brown sugar content ensures more moisture retention within the cookie as it cools, preventing it from drying out and hardening. The molasses also interferes with gluten development slightly, further contributing to a tender texture. Experiment with ratios in your favorite recipes; you’ll be amazed at the difference a little extra brown sugar makes in delivering that coveted soft, pliable texture.
The Chill Factor: A Cold Truth for Better Cookies
Skipping the dough chilling step is probably the most common shortcut home bakers take, and it’s a direct ticket to flat, hard cookies. While not all recipes explicitly call for it, it’s a game-changer for almost any drop cookie.
The mistake I see most often: Baking dough immediately after mixing, or chilling for only 15-20 minutes, thinking it’s enough. The immediate result is often cookies that spread too much, becoming thin, crispy (not in a good way), and hard once cooled.
What changed everything for me was embracing extended chilling. Chilling cookie dough in the refrigerator for at least 30 minutes, and ideally 2-24 hours, does several crucial things:
- Solidifies the fat: When butter is cold, it melts more slowly in the oven. This slow melt gives the cookie a chance to set its structure before completely spreading, resulting in a thicker, chewier cookie. If the butter is warm, it melts too quickly, leading to excessive spreading and a thin, hard cookie.
- Hydrates the flour: The flour has time to fully absorb the liquid in the dough. This reduces the amount of free water, leading to a more consistent texture and less gluten activation upon baking.
- Concentrates flavors: As the dough rests, the sugars and other ingredients meld, intensifying the overall flavor profile. This creates a more complex and satisfying cookie.
My personal go-to is to chill the dough for at least 2 hours, or even overnight. I scoop the dough into balls first, then chill them on a baking sheet. This makes them ready to bake straight from the fridge or freezer. While it requires patience, the payoff in texture – a thicker, chewier, more flavorful cookie – is absolutely worth it. If you’re truly pressed for time, even 30 minutes in the freezer can help.
Baking Time and Temperature: The Edge of Perfection
This is where many cookies go from perfectly soft to disappointingly hard, often in a matter of minutes. The difference between a chewy cookie and a hard one can be as little as 60 seconds in the oven.
The mistake I see most often: Baking until the cookies look uniformly golden brown and fully set, especially in the middle. This often means they are already over-baked by the time they come out of the oven.
What changed everything for me was learning to underbake slightly. For a truly chewy cookie, you want to pull them out of the oven when the edges are just set and lightly golden, but the centers still look slightly soft, puffed, and perhaps a little underdone. They will continue to cook and set on the hot baking sheet for a few minutes after being removed from the oven, a process known as ‘carryover cooking.’
My strategy involves a slightly lower oven temperature, typically around 350°F (175°C), and meticulously timing the bake. For most standard-sized drop cookies, this means 9-11 minutes, even if a recipe calls for 12-14. I always start checking at the lower end of the time range. As soon as those edges begin to firm up and show a hint of color, but the center still looks soft and pliable, they’re done. I let them cool on the baking sheet for 5-10 minutes, then transfer them to a wire rack to cool completely. This carryover cooking ensures they finish setting without becoming dry or hard. Learning to trust that slightly underbaked look is a crucial skill for achieving consistently chewy results.
Frequently Asked Questions
Q: Why do my cookies become hard overnight, even if they were soft initially?
A: This is often due to moisture loss. Even a perfectly baked, soft cookie will start to dry out and harden if exposed to air. Ensure your cookies are stored in an airtight container at room temperature once completely cooled. Adding a half slice of plain bread or a small piece of apple to the container can help maintain moisture, as the cookies will absorb moisture from it.
Q: Can I save a batch of hard cookies?
A: You can often revive them slightly. Place them in an airtight container with a slice of bread or an apple wedge overnight. The cookies will absorb moisture, making them softer. For a quick fix, microwave a single cookie for 5-10 seconds – it won’t be a permanent solution but will soften it in the short term.
Q: Does the type of flour affect chewiness?
A: Yes, to a degree. All-purpose flour is standard, but some bakers swear by using a mix of bread flour (for a little extra chew from higher protein) and cake flour (for tenderness from lower protein). However, the factors mentioned in the article (butter temperature, mixing, sugar ratio, chilling, baking time) have a much more significant impact on preventing hardness with standard all-purpose flour.
Q: My cookies still spread too much, even with chilling. What else could be wrong?
A: Excessive spreading can be caused by butter that’s too warm, an oven that isn’t at the correct temperature (use an oven thermometer!), or too much leavening (baking soda/powder). It can also be due to not enough flour in the recipe or using a baking sheet that’s too hot from a previous batch. Make sure to let baking sheets cool completely between batches.
Q: Should I use baking soda or baking powder for chewy cookies?
A: Both leavening agents react differently. Baking soda (sodium bicarbonate) reacts with acid (often found in brown sugar or buttermilk) to create spread and a chewier texture. Baking powder is a double-acting leavener that provides lift. Many chewy cookie recipes use a combination, with a slight preference for baking soda to encourage spread and chewiness. Always use fresh leavening agents; old ones can lead to flat, dense cookies.
Conclusion
Achieving that perfect, soft, chewy cookie is less about magic and more about mastering a few key techniques. Stop letting your homemade cookies turn into hard, dry disappointments. By paying meticulous attention to butter temperature, resisting the urge to over-mix, optimizing your sugar ratios, embracing a good chill, and mastering the art of the underbake, you’ll unlock a new level of cookie perfection. These aren’t just minor tweaks; they’re foundational shifts that will transform your baking results from edible construction materials to consistently delicious, melt-in-your-mouth treats. Give these methods a try, and prepare to impress yourself and everyone lucky enough to grab one of your perfectly chewy creations.
Written by Mark Henderson
Life Skills and Practical Wisdom
Drawing from decades as an educator, Mark offers grounded advice on personal development and problem-solving.
You Might Also Like

Why Your DIY Furniture Makeover Chips and Peels (And The Prep Secrets I Learned for a Pro Finish)
Stop furniture paint from chipping. Learn the crucial prep steps I discovered that guarantee a lasting, professional-looking DIY furniture makeover.

Why Your DIY Furniture Makeover Chips and Peels (And How to Get a Lasting, Pro Finish)
Stop your DIY furniture makeovers from peeling! Learn the crucial prep steps and pro painting techniques for a durable, professional-looking finish.

Why Your DIY Gardening Fails Most People (And What Actually Works for a Thriving Harvest)
Discover why common DIY gardening advice falls short and learn the counter-intuitive strategies that guarantee a bountiful, healthy harvest.