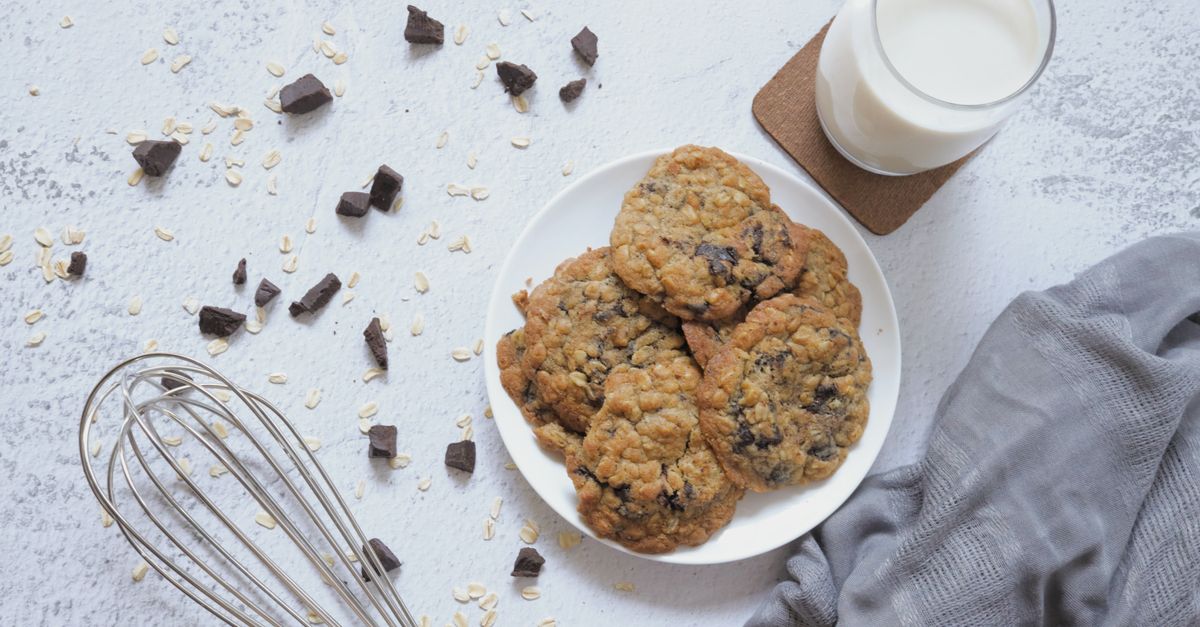
Why Your Homemade Cookies Are Flat (And The Simple Fixes That Guarantee Perfect Puffy Results Every Time)
We’ve all been there. You carefully measure, mix, and drop spoonfuls of dough onto a baking sheet, envisioning those perfect, puffy, golden-brown cookies you see in magazines. You slide them into the oven, brimming with optimism. Ten minutes later, you pull out a tray of sad, thin, uniformly flat discs that look more like brittle crackers than chewy delights.
It’s disheartening, isn’t it? Especially when you’ve followed a recipe to the letter. You blame the recipe, your oven, or even yourself. But in my experience, the culprit behind flat cookies isn’t usually one catastrophic error; it’s a combination of subtle, often overlooked factors that collectively conspire to spread your dreams thin. Many common cookie recipes assume a certain level of baking intuition that most home cooks simply haven’t developed. What works perfectly for a seasoned baker might lead to disappointment for someone who just wants a comforting treat.
I’ve spent countless hours in the kitchen, both perfecting my own recipes and troubleshooting countless others, and I can tell you that achieving that ideal chewy-yet-puffy texture is entirely within your grasp. It just requires understanding a few critical, often counter-intuitive, principles. It’s not about finding a ‘magic’ ingredient, but about mastering the foundational elements that control how your dough behaves under heat.
Key Takeaways
- Ensure your butter is cool and firm, not softened or melted, to prevent excessive spread.
- Measure your flour precisely using a kitchen scale or the ‘spoon and level’ method to avoid too little flour.
- Chill your cookie dough for at least 30 minutes to solidify fats and reduce premature spreading.
- Overmixing dough develops gluten, leading to tougher, flatter cookies; mix only until combined.
- Avoid placing dough on hot baking sheets, as this immediately starts melting the butter and causes spreading.
The Temperature Trap: Why Soft Butter is Your Enemy (Not Your Friend)
Most cookie recipes call for “softened butter,” and this is where many home bakers unknowingly sabotage their efforts. The word “softened” is often misinterpreted as “room temperature” or even “slightly melted.” In reality, if your butter is too soft – greasy, shiny, or yielding too easily to a finger poke – it’s already too warm.
The mistake I see most often: Bakers leave butter on the counter for hours, or worse, microwave it. Butter that’s too warm has already started to melt, losing the crucial crystalline structure that traps air during creaming and provides structure. When this warm, less viscous butter hits the heat of the oven, it melts almost instantly, causing your cookies to spread rapidly before the flour has a chance to set their structure. The result? A thin, oily pancake.
What changed everything for me: I learned that “softened” butter for cookies should actually be cool to the touch and still firm. It should indent with slight pressure but not squish or smear. It’s usually achieved by taking butter out of the fridge 20-30 minutes before use, or even less if your kitchen is warm. This butter is pliable enough to cream with sugar, incorporating air, but still cold enough to hold its shape until the flour and eggs can provide their own structure in the oven. If your butter is too soft, pop it back in the fridge for 10-15 minutes before proceeding.
The Flour Factor: Precision is Paramount
Flour is the backbone of your cookie. Too little, and your cookies won’t have the structure to hold their shape against the melting butter and sugar. Too much, and they’ll be dry and crumbly. The problem is, most people measure flour incorrectly.
The mistake I see most often: Scooping flour directly from the bag with a measuring cup. This compresses the flour, often adding 20-30% more than the recipe intends. Conversely, some people are too cautious and level it too aggressively, taking away too much. Either way, you’re not getting the precise amount the recipe assumes.
What changed everything for me: Investing in a simple digital kitchen scale. Measuring flour by weight (grams or ounces) is the gold standard for accuracy. If a recipe provides weight measurements, always use them. If not, adopt the “spoon and level” method: gently spoon flour into your measuring cup until it overflows, then use a straight edge (like the back of a knife) to level off the excess. Never pack it down. This ensures you’re adding the right amount of dry structure to counteract the spread.
The Chilling Conundrum: Patience is a Virtue
Many recipes say “chill dough for at least 30 minutes” or simply omit the instruction altogether, implying it’s optional. Let me be clear: for puffy cookies, chilling is non-negotiable.
The mistake I see most often: Rushing the process. People mix the dough and immediately scoop it onto a hot baking sheet, often straight from a previous batch. Or they chill it for 10 minutes and think it’s enough. This defeats the entire purpose.
What changed everything for me: Understanding why chilling works. Chilling accomplishes three critical things:
- Solidifies the fats: Cold butter melts slower in the oven, giving the cookie structure time to set before a complete collapse.
- Hydrates the flour: The flour absorbs more liquid from the butter and eggs, further firming up the dough. This reduces spreading and creates a chewier texture.
- Concentrates flavors: While not directly related to puffiness, chilling allows the flavors to meld and intensify, leading to a richer, more complex cookie.
I now make it a habit to chill my dough for at least an hour, often overnight. For best results, I scoop the dough onto a parchment-lined baking sheet and then chill the entire sheet. This ensures the dough balls are uniformly cold when they hit the oven, preventing the edges from melting too fast.
The Overmixing Offense: Gentle Hands for Tender Cookies
The stand mixer is a wonderful tool, but it can also be your biggest enemy when it comes to cookie dough. The temptation to let it run until everything looks perfectly smooth and homogenous is strong, but it’s a trap.
The mistake I see most often: Overmixing the dough, especially after adding the flour. When you mix flour with liquid, you start developing gluten, the protein network that gives bread its chewiness. While great for bread, too much gluten development in cookies leads to a tougher texture and, yes, a flatter cookie because the gluten tightens and pulls the dough, encouraging spread.
What changed everything for me: The mantra: Mix until just combined. As soon as you add the dry ingredients to the wet, mix on low speed only until no streaks of flour remain. This is usually just 30-60 seconds. You might even see a few small streaks – that’s okay. Any further mixing will begin to overdevelop the gluten, leading to denser, flatter, and less tender cookies. For add-ins like chocolate chips, fold them in by hand at the very end.
The Hot Sheet Havoc: Cool Down Your Pans
Baking cookies in batches on a single baking sheet is efficient, but if you’re not careful, it can lead to dramatically different results between the first and last batch.
The mistake I see most often: Placing fresh, cold dough onto a still-warm or hot baking sheet immediately after removing a finished batch from the oven. That residual heat is enough to start melting the butter in your new dough balls before they even get into the oven. It’s like a head start on spreading, guaranteeing a flat cookie.
What changed everything for me: Having at least two, preferably three, baking sheets on hand. This allows one to be in the oven, one to be loaded with dough and waiting, and one to be cooling down completely between batches. After a batch comes out, I immediately move the hot cookies to a cooling rack and place the empty baking sheet in the fridge or freezer for a few minutes to bring its temperature down quickly. Alternatively, running it under cold water (and drying thoroughly!) works in a pinch. The goal is for your dough to always hit a cool or room temperature baking sheet, minimizing premature fat melt and maximizing that desired puff.
By addressing these common, yet often overlooked, factors, you’ll find your homemade cookies transform from flat disappointments to perfectly puffy, chewy delights. It’s all about respecting the ingredients and understanding the subtle science behind successful baking.
Frequently Asked Questions
Q: My recipe calls for baking soda or baking powder. Could the leavening agent be the problem?
A: Yes, expired or incorrect leavening can certainly contribute to flat cookies. Baking soda reacts with acid (like brown sugar or buttermilk) to create gas, while baking powder has its own acid and reacts with liquid and heat. If your baking soda or powder is old (check the date, or test a pinch in vinegar for soda or hot water for powder – it should bubble), it won’t produce enough gas to lift the cookies, leading to a flatter result. Always use fresh leavening agents and ensure you’re using the correct one for your recipe.
Q: What role does the type of sugar play in cookie spread and puffiness?
A: Sugar plays a significant role! Granulated white sugar contributes to spread and crispiness because it melts quickly. Brown sugar, with its molasses content, adds moisture and chewiness and tends to make cookies thicker and softer. Many recipes use a combination for balance. If your cookies are consistently flat, check the sugar ratio. Reducing white sugar slightly and increasing brown sugar can sometimes help with puffiness and chewiness, but be careful not to drastically alter the recipe, as it can affect texture and sweetness.
Q: My oven temperature seems accurate, but my cookies still spread. What gives?
A: Even if your oven temperature setting is accurate, the actual temperature inside the oven can fluctuate wildly. An oven thermometer is a cheap but invaluable tool. If your oven runs cold, cookies will bake slower, giving butter more time to melt and spread before the structure sets. If it runs too hot, the outside might set too quickly, but the inside can remain undercooked, leading to collapse. Also, frequent opening of the oven door to check on cookies drops the temperature significantly. Trust your timer and keep the door closed as much as possible.
Q: Does the type of baking sheet matter for puffy cookies?
A: Absolutely. Dark, thin baking sheets absorb and conduct heat more quickly, which can cause the edges of your cookies to set too fast and spread more in the middle. Light-colored, heavy-gauge aluminum baking sheets (often labeled as ‘half-sheet pans’) are ideal. They distribute heat more evenly and gently, allowing the cookies to bake through without over-browning or excessive spreading. Using parchment paper or silicone baking mats also helps regulate heat and prevents sticking, leading to a more consistent bake and easier release.
Q: I’m making cookies with add-ins (chocolate chips, nuts, etc.). Can this affect puffiness?
A: Yes, it can. Too many add-ins, especially heavy ones, can weigh down the dough, causing it to spread more. Ensure your add-ins are roughly the size recommended by the recipe (e.g., standard chocolate chips vs. large chunks). Also, if your chocolate chips or nuts are warm, they can contribute to the overall temperature of the dough, encouraging spread. Consider chilling your add-ins, especially if your kitchen is warm, before folding them into your cold dough.
Making perfectly puffy cookies is a rewarding challenge that becomes second nature once you understand these foundational principles. By paying attention to butter temperature, flour measurement, dough chilling, mixing technique, and baking sheet management, you’ll be well on your way to baking cookies that consistently impress.
Written by Mark Henderson
Life Skills and Practical Wisdom
Drawing from decades as an educator, Mark offers grounded advice on personal development and problem-solving.
You Might Also Like

Why Your DIY Furniture Makeover Chips and Peels (And The Prep Secrets I Learned for a Pro Finish)
Stop furniture paint from chipping. Learn the crucial prep steps I discovered that guarantee a lasting, professional-looking DIY furniture makeover.

Why Your DIY Furniture Makeover Chips and Peels (And How to Get a Lasting, Pro Finish)
Stop your DIY furniture makeovers from peeling! Learn the crucial prep steps and pro painting techniques for a durable, professional-looking finish.

Why Your DIY Gardening Fails Most People (And What Actually Works for a Thriving Harvest)
Discover why common DIY gardening advice falls short and learn the counter-intuitive strategies that guarantee a bountiful, healthy harvest.