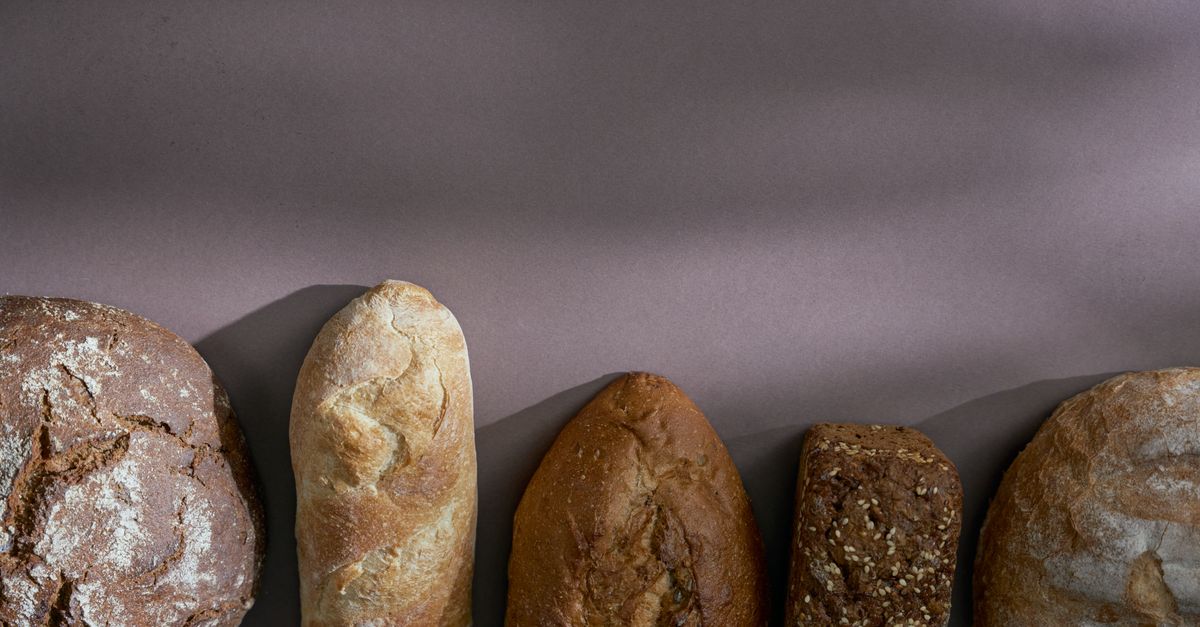
Why Your Homemade Bread Isn't Crusty (And The Pro Secrets That Deliver Bakery-Quality Crunch Every Time)
You’ve spent hours kneading, proofing, and baking, patiently waiting for that moment of triumph: pulling a freshly baked loaf of bread from your oven. It smells divine, looks golden, and feels warm to the touch. But then you slice into it, and instead of that satisfying, audible crack of a perfect crust, you get a soft, chewy exterior. It’s good, don’t get me wrong, but it’s not the artisanal, shatteringly crisp crust you dream of, the kind that sheds flaky shards onto your counter with every cut. You wanted that bakery-quality crunch, and you got… well, something else.
I’ve been there, staring at my beautiful but ultimately soft-crusted loaves, wondering where I went wrong. For years, I chased that elusive crunch, tweaking recipes, adjusting temperatures, and trying every internet hack under the sun. Most advice felt generic, surface-level, and ultimately ineffective. It wasn’t until I started digging into the why behind a truly great crust – the science, the subtle environmental controls, and the often-overlooked techniques used by professional bakers – that everything changed. This isn’t about one magic ingredient or a single temperature setting. It’s a symphony of factors, and missing just one note can throw off the entire performance.
My journey from soft-crusted disappointment to consistently crunchy success taught me that many common home baking practices are inadvertently sabotaging the very crust we crave. We focus on the crumb, the rise, the flavor, often forgetting that the crust is a living, breathing part of the loaf that demands specific conditions to develop its character. What I’m about to share isn’t just a list of tips; it’s a deep dive into the practical wisdom and strategic adjustments that transformed my home baking from ‘pretty good’ to ‘oh my god, you made this?!’
Key Takeaways
- Proper steam generation and retention are paramount for delaying crust formation, allowing the dough to fully expand and achieve a thinner, crisper exterior.
- Utilizing a preheated Dutch oven or baking stone creates an intense, initial burst of heat that sets the crust rapidly and contributes to superior oven spring.
- The precise hydration level of your dough, coupled with thorough kneading, develops the gluten structure necessary to support a robust, crunchy crust.
- Strategic cooling and ventilation after baking are crucial for preventing moisture migration back into the crust, preserving its hard, crackly texture.
The Steam Myth: Why a Water Pan Isn’t Enough (And What Actually Works)
For the longest time, I, like many home bakers, relied on a pan of hot water in the bottom of my oven to generate steam. The logic seemed sound: steam keeps the crust soft, allowing the dough to expand fully before the crust sets, leading to a thinner, crisper final texture. The problem? A small pan of water in a large, leaky home oven is utterly inadequate. It generates a puff of steam for a minute or two, then quickly dissipates, leaving your nascent crust to dry out and harden prematurely. This is the number one reason your homemade bread isn’t crusty.
What truly works is creating an environment saturated with steam, at least for the first 15-20 minutes of baking. This isn’t just about adding moisture; it’s about controlling the rate at which the crust forms. In a professional deck oven, steam is injected at high pressure, instantly enveloping the loaves. At home, you need to mimic this intense, consistent steam.
The most effective method I’ve found, by far, is using a heavy, preheated Dutch oven with a lid. The Dutch oven traps the moisture evaporating from the dough itself, creating a perfectly steamy micro-environment. For a free-form loaf, you place the preheated Dutch oven in the oven as it preheats to your target temperature (usually 450-500°F or 230-260°C). Once hot, you carefully drop your dough in, cover it, and bake for 20-30 minutes. The lid keeps all that precious steam trapped, allowing the crust to remain pliable while the bread gets maximum oven spring. Only after this initial period do you remove the lid to allow the crust to dry out and brown.
If you’re baking on a baking stone or sheet, you’ll need a more robust steam solution. My go-to is to place a cast-iron skillet or another sturdy metal pan on the bottom rack as the oven preheats. Just before loading your bread, carefully pour 1 cup (240ml) of boiling water into the hot skillet. This creates an intense burst of steam. Immediately close the oven door. Some bakers also mist the oven walls with water, but be cautious not to spray the light bulb or heating elements. This method requires speed and careful handling of hot water, but it delivers far more effective steam than a passive water pan.
The Overlooked Power of Intense Initial Heat (Dutch Oven vs. Baking Stone)
Beyond steam, the initial heat your dough encounters plays a critical role in crust development and oven spring. Imagine throwing cold dough into a moderately warm oven; it takes time for the heat to penetrate, leading to a slower, less vigorous rise and a thicker, tougher crust. A truly professional crust benefits from a rapid setting of the outer layer, which paradoxically leads to a thinner, more fragile, and ultimately crisper crust.
This is where a preheated Dutch oven or a baking stone/steel comes into its own. Both act as thermal batteries, storing a tremendous amount of heat. When your dough hits this super-heated surface, it experiences a powerful burst of oven spring (the final rapid expansion of the dough), and the crust immediately begins to develop.
A Dutch oven (my preferred method for most artisan loaves) surrounds the dough with radiant heat, ensuring even baking and consistent steam. Preheat it for at least 30-60 minutes at your highest oven temperature. The intense heat from all sides creates a thin, crisp crust that is incredibly satisfying. My personal rule of thumb: always preheat the Dutch oven for longer than you think you need to. I aim for 45-60 minutes at 475°F (245°C).
A baking stone or steel provides excellent bottom heat, mimicking a brick oven. If using this, place it on the middle rack during preheating. You’ll still need to generate external steam (as discussed in the previous section). The advantage of a stone/steel is the ability to bake multiple loaves at once if your oven allows, and it’s fantastic for pizzas too. However, getting even heat distribution for the sides and top of the loaf without a Dutch oven requires a little more finessing with oven temperature and turning.
The key is don’t open the oven door unnecessarily during the first half of baking. Every time you open it, you lose heat and steam, disrupting the delicate balance needed for optimal crust formation.
Hydration and Gluten: The Inner Workings of an Outer Crunch
Many home bakers, especially beginners, shy away from high-hydration doughs. They’re sticky, harder to handle, and can feel intimidating. However, hydration plays a crucial, often underestimated, role in crust crispness. Think about it: a higher water content in the dough means more moisture to convert into steam during baking. This internal steam generation is vital for creating those large, irregular air pockets in the crumb and, crucially, for pushing against the developing crust, stretching it thin and making it brittle and crisp when baked dry.
My experience taught me that aiming for dough hydration between 70-80% (meaning 70-80 grams of water per 100 grams of flour) is ideal for a crackly crust. Lower hydration (below 65%) often results in a thicker, chewier crust that’s less prone to shattering. Don’t be afraid of sticky dough; it’s a sign of good hydration. Learn to handle it with wet hands or a dough scraper, and embrace the mess.
Equally important is proper gluten development. Gluten, the protein network formed when flour and water combine and are kneaded, provides the structure and elasticity that allows the dough to capture gas and rise. A well-developed gluten network also creates a resilient skin on your loaf. This skin, when adequately steamed and then dried out, transforms into that desired crust. You can achieve this through traditional kneading (by hand or stand mixer) or through a ‘no-knead’ method that relies on long fermentation and several ‘stretch and fold’ cycles.
For a fantastic crust, I advocate for autolyse (mixing flour and water and letting it rest for 30-60 minutes before adding salt and yeast). This allows the flour to fully hydrate and gluten to start developing on its own, making subsequent kneading far more efficient. Then, whether you hand-knead for 10-15 minutes or use a mixer for 5-8 minutes, ensure your dough passes the ‘windowpane test’ – you should be able to stretch a small piece of dough thin enough to see light through it without tearing.
The Post-Bake Cooldown: The Unsung Hero of Crust Retention
You’ve mastered the steam, hit it with intense heat, and nurtured your high-hydration, well-developed dough. The bread emerges from the oven, a golden, magnificent creation. Your work isn’t over. The cooling process is just as critical to that coveted crust as the baking itself.
The biggest mistake I see (and used to make myself) is letting bread cool on a solid surface or, worse, slicing into it too soon. When bread comes out of the oven, it’s still cooking internally, and moisture is migrating. If you cool it on a solid surface, the bottom of the crust becomes soggy as trapped steam re-condenses. If you slice it too early, you release the internal steam too rapidly, preventing the crumb from setting fully and causing the crust to soften prematurely.
My unwavering rule: always cool bread on a wire rack. This allows air to circulate freely around the entire loaf, preventing moisture from condensing and ensuring the crust stays crisp on all sides. Position it in an area with good airflow, away from any drafts or excessive humidity. Resist the urge to cover it. The crust needs to breathe and dry out completely.
Furthermore, patience is a virtue. A standard-sized loaf needs at least 1-2 hours to cool completely before slicing. For larger loaves, it might be 3-4 hours. During this time, the internal temperature of the bread gradually lowers, the starch molecules re-align, and the crumb fully sets. More importantly for crust, the residual heat from the crumb continues to drive moisture away from the crust, making it even crisper. Slicing too early traps that moisture inside, leading to a softer crust and often a gummy crumb.
Trust the process. That wait, though agonizing, is essential for transforming a good loaf into a truly outstanding one with a crust that crackles with every bite.
Scoring and Glazing: The Finishing Touches for Visual and Textural Appeal
While not as fundamental as steam or heat, proper scoring and a subtle glaze can significantly enhance your bread’s crust, both texturally and aesthetically. Think of these as the final flourishes that elevate your loaf from rustic to refined.
Scoring (or ‘lameing’) is more than just making pretty cuts. It’s about controlling where the bread expands. Without scoring, the crust will burst haphazardly at its weakest point, often resulting in an uneven shape and a thick, irregular tear. A precise score, made with a sharp blade (a bread lame is ideal, but a very sharp razor blade works), allows for a controlled, beautiful ‘ear’ to form, and ensures even expansion. The deeper the score, the more dramatic the opening. Aim for a depth of about 1/2 inch (1.2 cm). This controlled tearing helps to create those thin, delicate edges that become incredibly crisp.
For a truly professional finish, try a light egg wash or water spray just before baking. A simple mist of water from a spray bottle before loading can promote a slightly thinner, glossier crust. For a deeper, richer color and a subtle sheen, a very light egg wash (one egg yolk whisked with a tablespoon of water) applied judiciously can work wonders. Be sparing; too much can create a thick, chewy crust rather than a crisp one. My preference, especially for artisan loaves, is usually just water or sometimes no glaze at all, relying on the steam and heat to achieve the natural browning and crispness. However, for a soft roll or a enriched dough, an egg wash is a game-changer.
These final touches might seem small, but they contribute to the overall experience. A beautifully scored loaf with a perfectly developed crust not only tastes better but also feels like a true achievement. Don’t underestimate the power of presentation and the subtle ways these techniques enhance texture.
The Flour Factor: Why Your Choice Matters More Than You Think
Not all flour is created equal, and your choice can subtly impact your bread’s crust. While bread flour (with its higher protein content) is generally recommended for its gluten-forming potential, the grind and type of wheat can also play a role.
I’ve found that using a portion of strong bread flour (12-14% protein) provides the robust gluten structure needed to trap steam and create that expansive rise, leading to a thinner, more fragile crust. All-purpose flour (10-12% protein) can work, but you might find the crust slightly less robust or prone to breaking rather than shattering.
Beyond protein, consider whole grain flours. While they add fantastic flavor and nutrition, their bran content can actually interfere with gluten development, making it harder to achieve that super-thin, crisp crust. If you’re using a significant amount of whole wheat or rye flour (say, over 30%), you might need to increase your hydration slightly and extend your kneading/folding times to compensate. The bran acts like tiny razor blades, cutting the gluten strands. However, this doesn’t mean you can’t get a good crust with whole grains; it just means it might be a different kind of crispness, often thicker and more rustic. Experiment with a blend – perhaps 70% strong white bread flour and 30% whole wheat – to get the best of both worlds: flavor from the whole grain and structure from the bread flour.
Another factor is the quality and freshness of your flour. Older flour, or flour stored improperly, can lose some of its gluten-forming potential. Always store flour in an airtight container in a cool, dark place, and try to use it within a few months of purchase. Fresh flour means livelier gluten, which in turn means better structure and a superior crust.
Don’t get bogged down in endless flour choices, especially when starting. Begin with a good quality strong bread flour. As you gain confidence, experiment with blends and different types, paying attention to how they affect not just the crumb, but also that coveted, crunchy crust.
Frequently Asked Questions
Q: Why does my bread crust go soft after cooling?
A: The most common reason is moisture migration. After baking, as the bread cools, moisture from the still-warm interior moves towards the cooler crust. If the bread isn’t cooled on a wire rack with good air circulation, or if it’s covered too soon, this moisture gets trapped and re-condenses on the crust, making it soft. Always cool uncovered on a wire rack for at least 1-2 hours.
Q: Can I use ice cubes instead of boiling water for steam?
A: Yes, many bakers successfully use ice cubes. Drop 4-6 ice cubes into the hot cast-iron skillet on the bottom rack just before loading your bread. The ice melts and creates steam. Be careful as with boiling water to avoid thermal shock to glass oven doors and never spray directly onto heating elements.
Q: My Dutch oven bread has a great crust, but the bottom is sometimes too dark. How can I prevent this?
A: This is a common issue with intense bottom heat. Try placing a small, inverted baking sheet or a few pieces of aluminum foil underneath the Dutch oven during the latter half of baking (after the lid is removed). This acts as a barrier, diffusing the direct heat from the oven floor and preventing over-browning. You can also try reducing the oven temperature by 25°F (15°C) after removing the lid.
Q: Does a longer baking time make the crust crispier?
A: Not necessarily. While baking longer after the lid is removed (or after the steam phase) will certainly help dry out the crust, excessive baking can lead to a very thick, hard, almost burnt crust rather than a crisp, delicate one. It’s a balance. Focus on initial steam, high heat, and proper cooling first. Once the crust is well-browned and sounding hollow when tapped, it’s usually done.
Q: What’s the best way to revive a soft crust on day-old bread?
A: If your bread has gone soft, you can often revive the crust. Preheat your oven to 350°F (175°C). Lightly mist the entire loaf with water (don’t soak it), then bake directly on the oven rack for 5-10 minutes. The moisture on the surface will create steam, and the heat will dry it out, giving you a surprisingly good refresh.
My journey to consistently crusty homemade bread was a lesson in patience, observation, and understanding the science at play. It’s not about complex gadgets or secret ingredients, but rather a mastery of environmental control and dough characteristics. Once you commit to proper steam, intense initial heat, appropriate hydration, and mindful cooling, you’ll find that elusive crackle becomes a regular, joyous feature of your home-baked loaves. Don’t be discouraged by past failures; embrace these insights, experiment in your own kitchen, and prepare to elevate your bread-making game to truly professional standards. The reward, I promise, is worth every moment: that glorious, shattering crust that transforms a simple slice of bread into an experience.
Written by Mark Henderson
Life Skills and Practical Wisdom
Drawing from decades as an educator, Mark offers grounded advice on personal development and problem-solving.
You Might Also Like
Why Your DIY Furniture Makeover Chips and Peels (And The Prep Secrets I Learned for a Pro Finish)
Stop furniture paint from chipping. Learn the crucial prep steps I discovered that guarantee a lasting, professional-looking DIY furniture makeover.

Why Your DIY Furniture Makeover Chips and Peels (And How to Get a Lasting, Pro Finish)
Stop your DIY furniture makeovers from peeling! Learn the crucial prep steps and pro painting techniques for a durable, professional-looking finish.
Why Your DIY Gardening Fails Most People (And What Actually Works for a Thriving Harvest)
Discover why common DIY gardening advice falls short and learn the counter-intuitive strategies that guarantee a bountiful, healthy harvest.